Example Lead Paint Projects in Plano

Here are five examples, from a single test to a stripped built-in cabinet, with the house, the test result, the work and a rough price for each.

These are examples, not past jobs, clients or addresses. We built them from the ages of homes around Plano, the usual steps of lead work and 2026 price ranges, to give you a starting point before a quote.

Lead test before updating the outside of a 1950s house

Example project
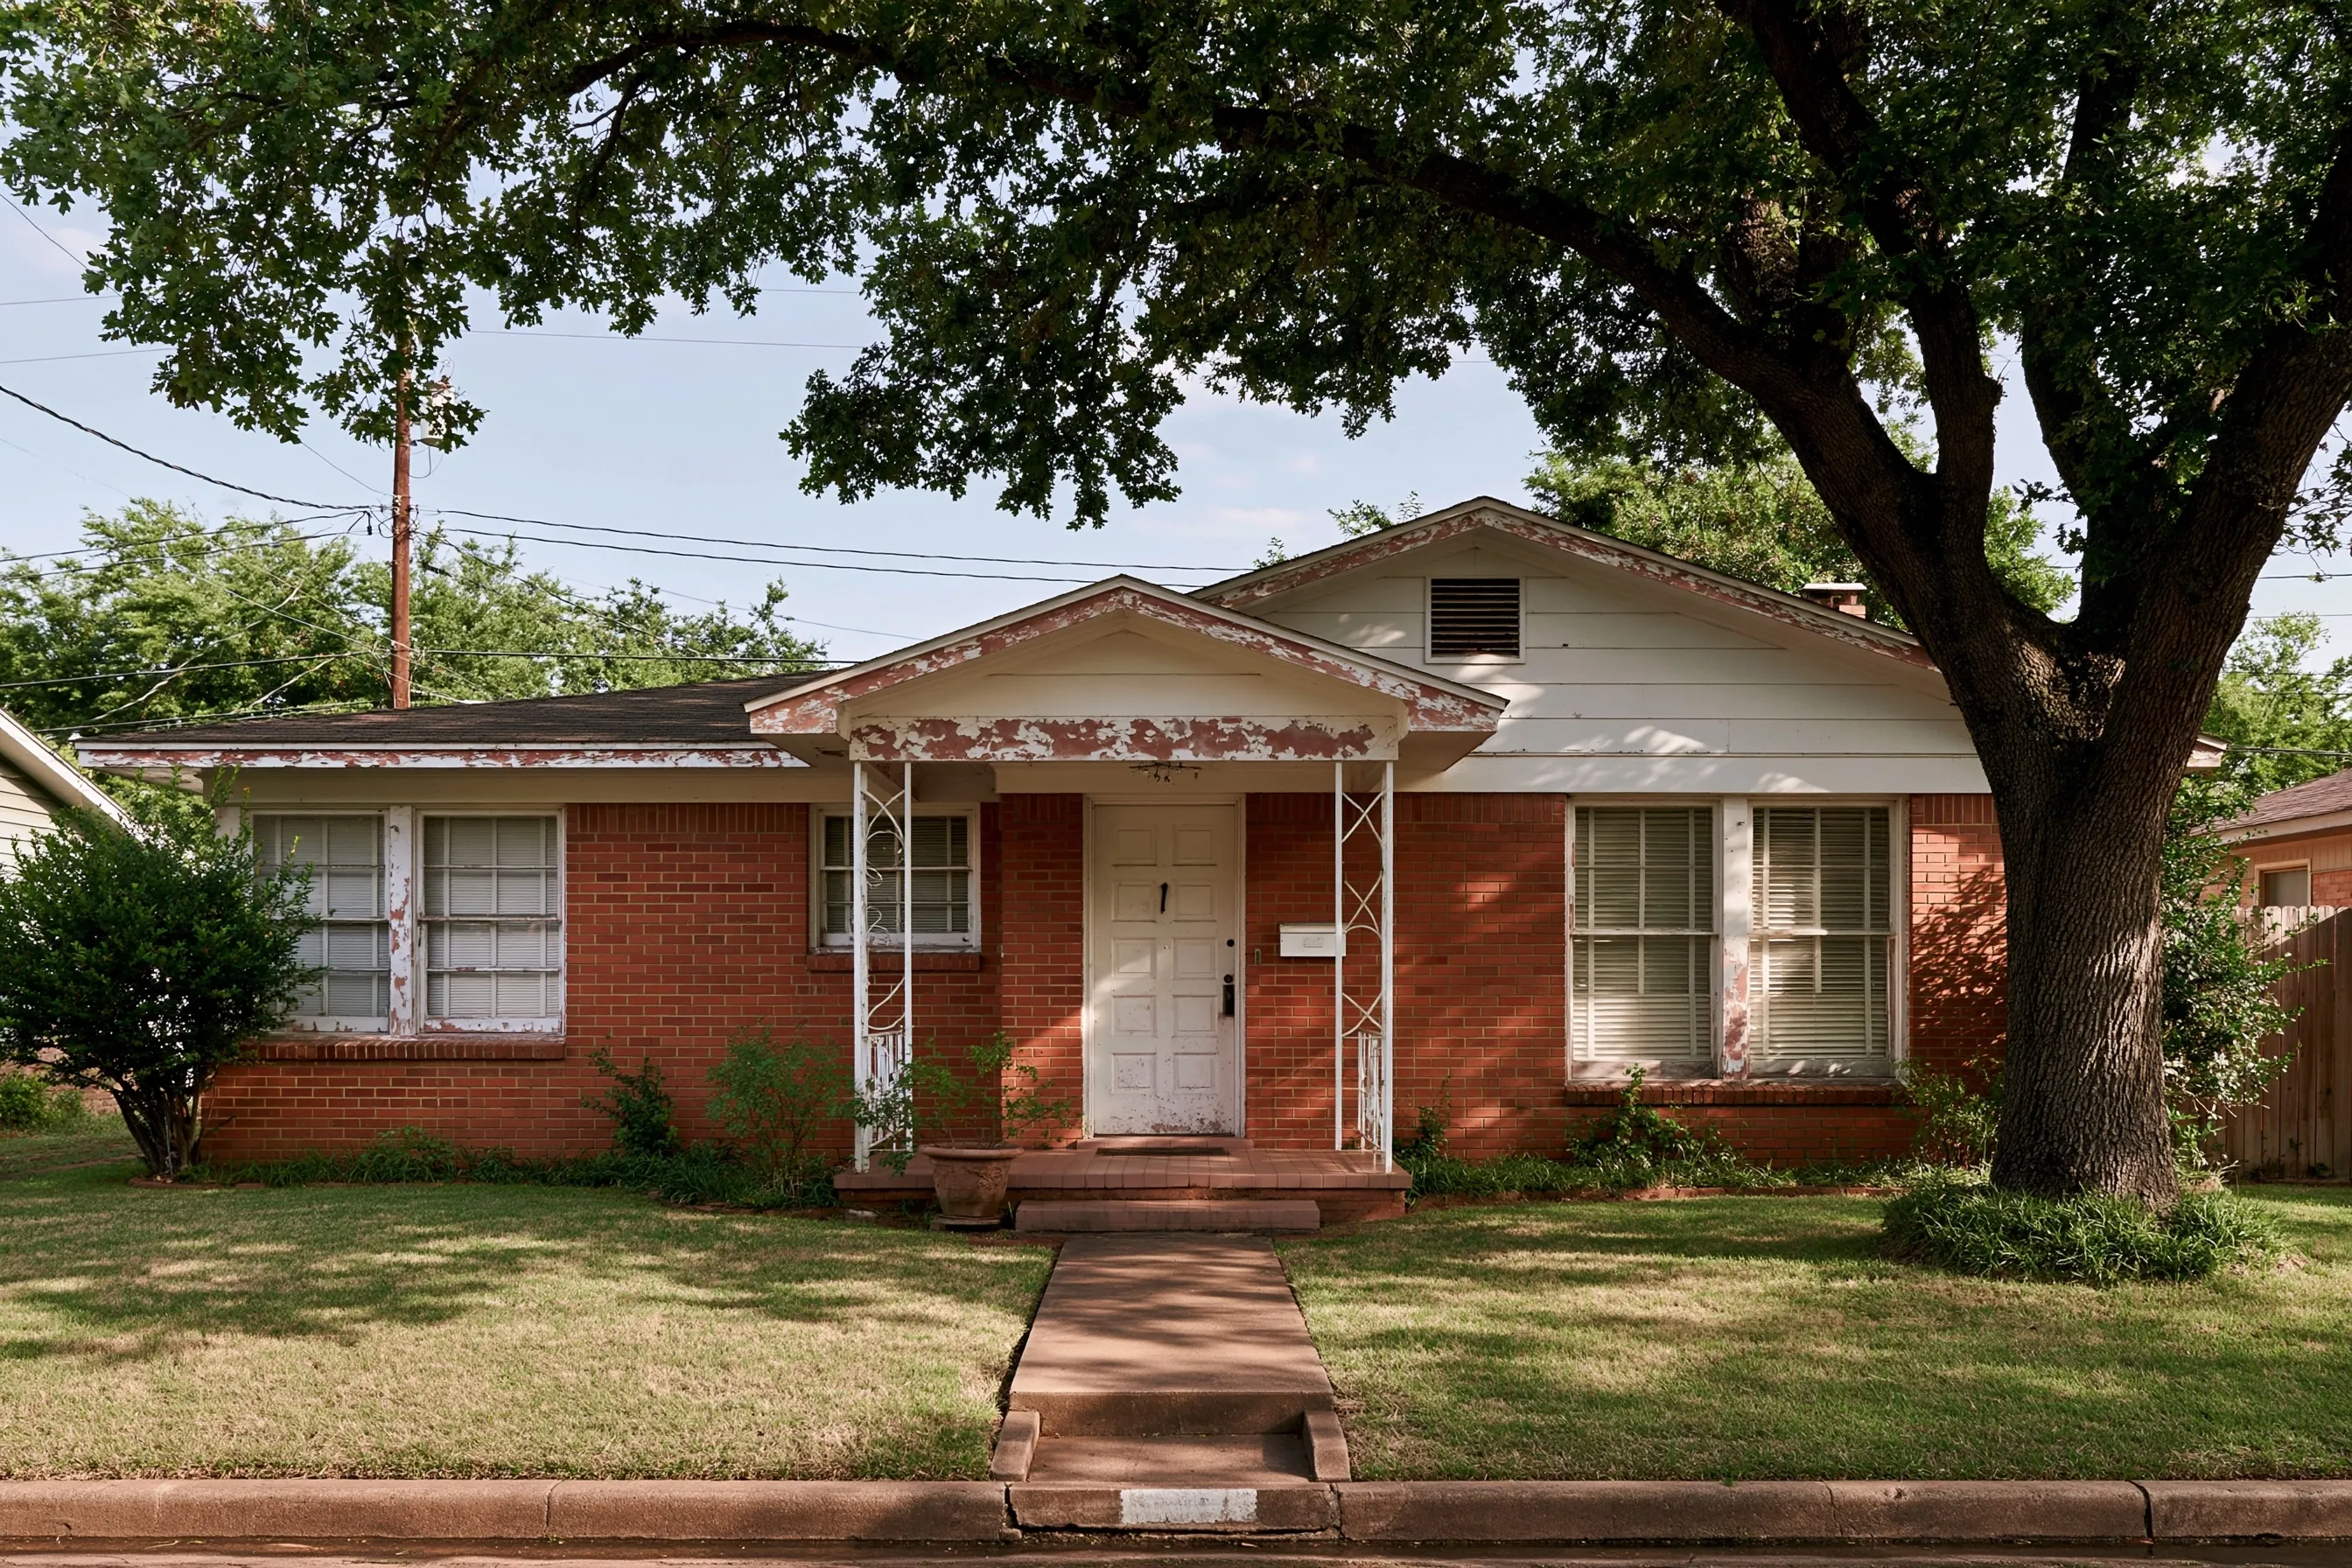
Brick ranch house under a big oak tree, its white gable and porch trim flaking
Home
1950s single-story brick ranch in Plano, about 1,300 sq ft, one of the few that old
Original request
Test before new porch posts, new windows and a gable repaint
Inspection
Porch, gables, fascia, windows, door and inside trim tested, lab chips for unclear spots
Found
Lead paint on the gable siding, fascia, porch gable and window frames; none on the metal posts
Report
A written list the contractors can price from
Estimated cost
$560

Scope of work

Readings on the gable siding, fascia, soffit, porch gable, posts, window frames, front door and the interior trim by the windows, paint chips to the lab where a reading is unclear, and a written report for the window installer and the painter.

Project overview

In this example, the new owners of one of the few 1950s houses in Plano want to update the outside: new porch posts, new windows and fresh paint on the peeling white gables. Before they ask for bids, they have the whole house tested.

The report shows lead paint on the gable siding, the fascia, the porch gable and the window frames. Each contractor can now price lead-safe work for those parts only. The window job falls under the lead-safe rules anyway, since window replacement in an older house always does.

The goal

The goal is contractors who know which parts carry lead paint before any scraping starts.

Process

  1. Booking A date set when the porch and every window can be reached.
  2. Inspection Outside parts and the trim by each window tested.
  3. Report Results sent to the window installer and the painter.

Planning right

  • Test before the bids, so every contractor prices the same lead-safe work.
  • The brick was never painted, so it is not part of the plan.
  • Peeling gable paint drops chips on the beds below. Keep children out of them until the work is done.
  • Keep the report with the house papers.

Get a free quoteMore about lead paint testing before remodeling
Four sun-worn west windows replaced first, the rest later

Example project

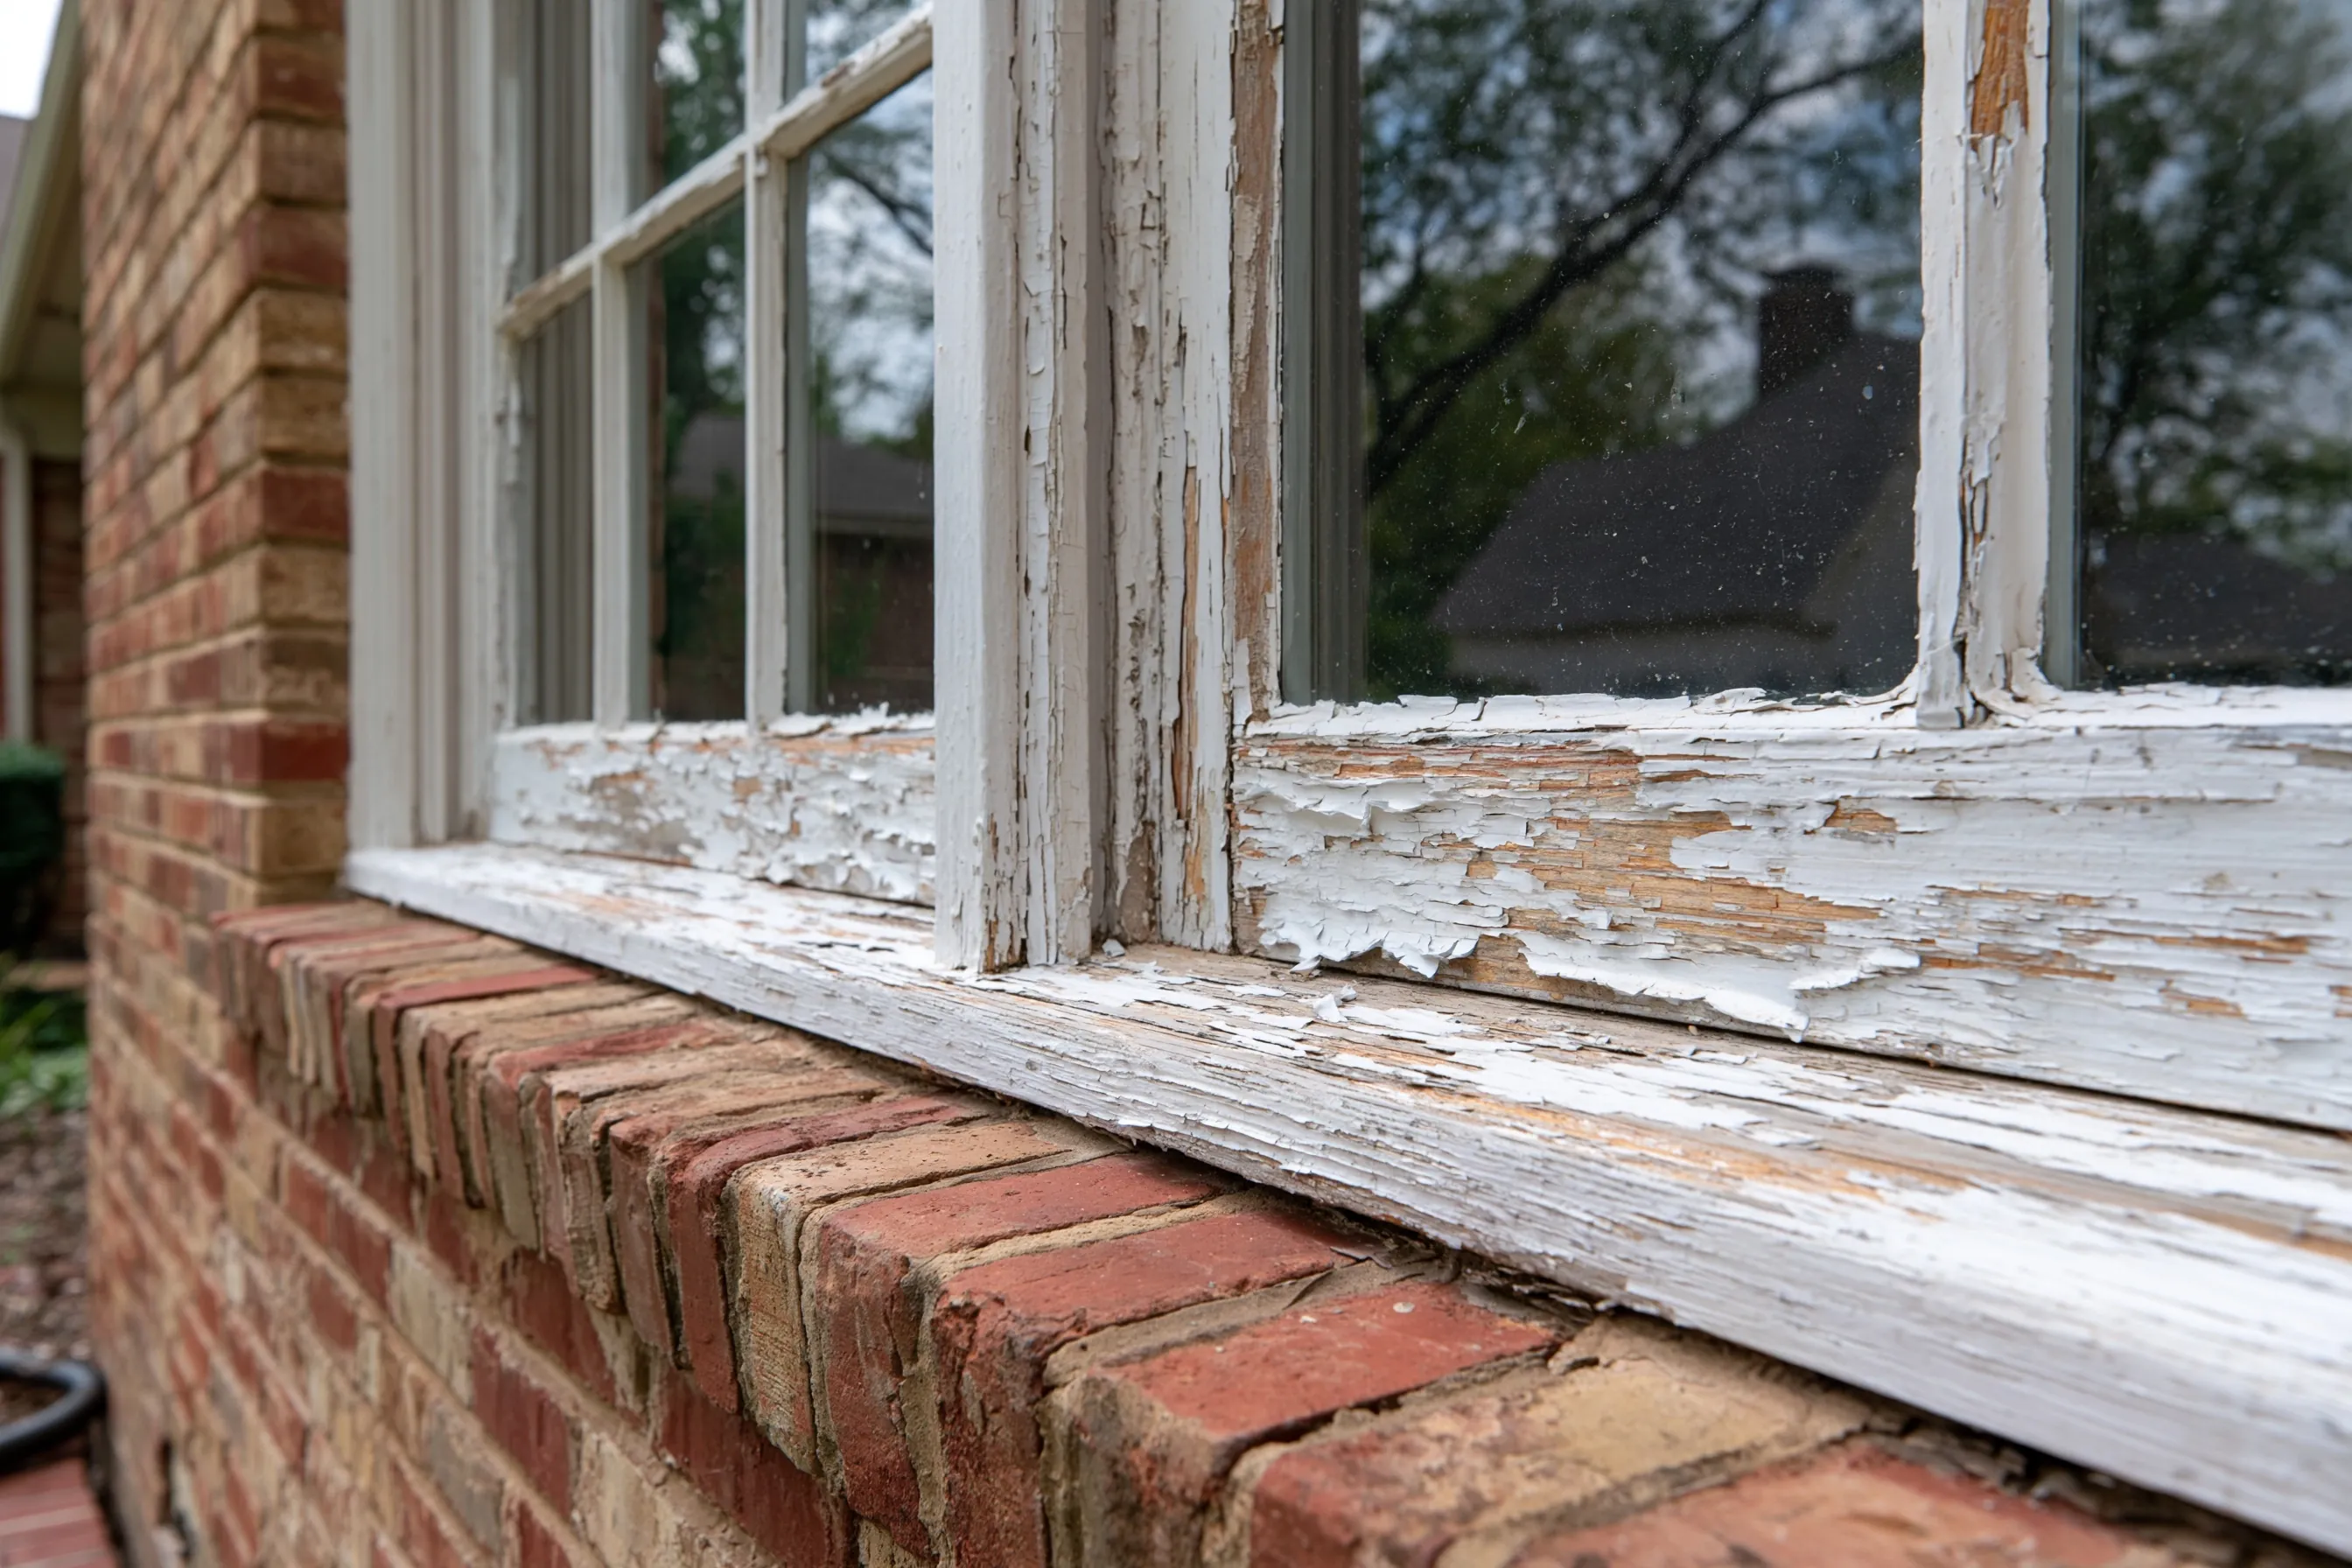
Close view of old white wood windows with divided upper panes and sills peeling to bare wood in a brick wall
Home
1960s single-story brick house in Plano, about 1,400 sq ft, ten windows
Original request
Replace the four windows on the west wall now and the other six in a later year
Testing
Lead paint on the sashes, sills and frames of all ten windows
New windows
Four vinyl double-hung windows set in the old openings
Later
The other six windows kept, with loose paint on their sills scraped and painted lead-safe
Estimated cost
$3,000

Scope of work

Plastic inside the two west rooms and on the ground outside, the four old sashes and stops misted and taken out whole, new vinyl windows set in the old openings, the disturbed trim repaired, HEPA vacuuming and a wet wipe, and a wet-cloth check of the sills and floors. Touching up the other six sills is a small extra.

Project overview

In this example, the owners of a 1960s brick house in Plano have ten original wood windows. The four on the west wall take the afternoon sun, and their sills and frames are peeling to bare wood. They want to replace those four now and spread the rest over a later budget.

A test shows lead paint on all ten windows, so the four replacements are done with lead-safe methods and the six that stay get their loose sill paint scraped and painted the same way. When the next six are replaced, the same test report covers them.

The goal

The goal is four sound windows on the hottest wall now, with the rest planned and the lead paint kept in check.

Process

  1. Testing All ten windows tested, and the four west openings measured.
  2. Setup The two west rooms closed off, plastic inside and on the ground.
  3. Windows Old sashes out whole with misting, new units set and the trim repaired.
  4. Check HEPA cleanup and a wet-cloth check of the sills and floors.

Planning right

  • Ask the city whether your window job needs a permit before ordering.
  • Order the later windows in the same style, so the house matches when it is done.
  • Keep the test report. It covers the other six windows too.
  • Watch the six old sills each spring for new peeling.

Get a free quoteMore about lead-safe window and door replacement

Lead-safe add-on to remodeling a den and two bedrooms

Example project

Home
1960s ranch house in Richardson
Original request
Take out the painted paneling and trim in the den and two bedrooms, then refinish
Testing
Paneling, door casings and baseboards positive; ceilings clear
Lead-safe add-on
Plastic on floors and doorways, misting, HEPA cleanup and a cleaning check
Remodel
New drywall, trim and paint, priced by the remodeler
Estimated add-on cost
$4,600

Scope of work

Plastic over the floors and across the doorways of the three rooms, the painted paneling, casings and baseboards misted and pried off whole rather than broken up, waste wrapped and bagged, HEPA vacuuming each day, a wet wipe at the end and a cleaning check of the floors and sills. Drywall, new trim and paint are priced in the remodel.

Project overview

In this example, the owners of a 1960s ranch house in Richardson want to take out the painted wood paneling and old trim in the den and two bedrooms, then put up drywall and new trim. A test shows lead paint on the paneling, casings and baseboards.

The remodel goes ahead as planned. The lead-safe work is an add-on that keeps the dust inside the three rooms while the old pieces come out, and ends with a cleaning check before the drywall goes up.

The goal

The goal is three rooms ready for new drywall, with the extra cost limited to the parts that tested positive.

Process

  1. Testing Paneling, trim and ceilings tested before the remodel is priced.
  2. Setup Floors and doorways covered and the three rooms closed off.
  3. Removal Paneling and trim misted and pried off whole, wrapped and bagged.
  4. Cleanup Daily HEPA vacuuming, then a final wipe-down and check before drywall.

Planning right

  • Get the lead-safe work listed as its own item on the remodeler’s quote.
  • A city incentive for remodels does not change the lead rules.
  • Pry old pieces off whole. Breaking them up makes far more dust.
  • The three rooms stay closed to the family until the floors and sills pass.

Get a free quoteMore about remodeling a house with lead paint

Lead paint stripped from a built-in dining cabinet

Example project

Home
Early-1900s house in the Haggard Park Heritage District
Original request
Keep the original built-in cabinet and window casings, without the peeling lead paint
Testing
Lead paint in the lower coats of the cabinet, its doors and the two window casings
Work
Stripped in place with a paste stripper and wet scraping, then primer and paint
Notice
The state told at least seven working days ahead; the family stays elsewhere until clearance
Estimated cost
$3,700

Scope of work

The dining room sealed off with plastic, the cabinet doors and shelves taken out and stripped on plastic in the room, the face frame and the two window casings stripped in place, waste bagged each day, primer and two coats of lead-free paint, HEPA cleanup and a clearance test. Repairs to split wood are extra.

Project overview

In this example, the owners of an early-1900s house in the Haggard Park district want to keep the original built-in dining cabinet and the window casings beside it. The paint is peeling, and a test finds lead paint in the lower coats.

Replacing a built-in would lose the room’s character, so the paint is stripped instead. Because the aim is to remove the lead paint for good, the job is abatement. The firm tells the state before starting, and the family sleeps elsewhere until the clearance test passes.

The goal

The goal is a dining room that keeps its original cabinet and casings, with no lead paint left on them.

Process

  1. Notice The state told at least seven working days ahead, and the work days set.
  2. Setup Dining room sealed off, doors and shelves taken out onto plastic.
  3. Stripping Cabinet parts, face frame and casings stripped wet, waste bagged daily.
  4. Finish Primer and two coats, then HEPA cleanup and the clearance test.

Planning right

  • Inside work like this is not a change seen from the street, but ask the city’s preservation staff if unsure.
  • Detailed old woodwork takes longer to strip, which puts this job near the top of its range.
  • Open flames and dry sanding stay off lead paint.
  • File the clearance report with the house papers.

Get a free quoteMore about lead paint removal for heritage homes

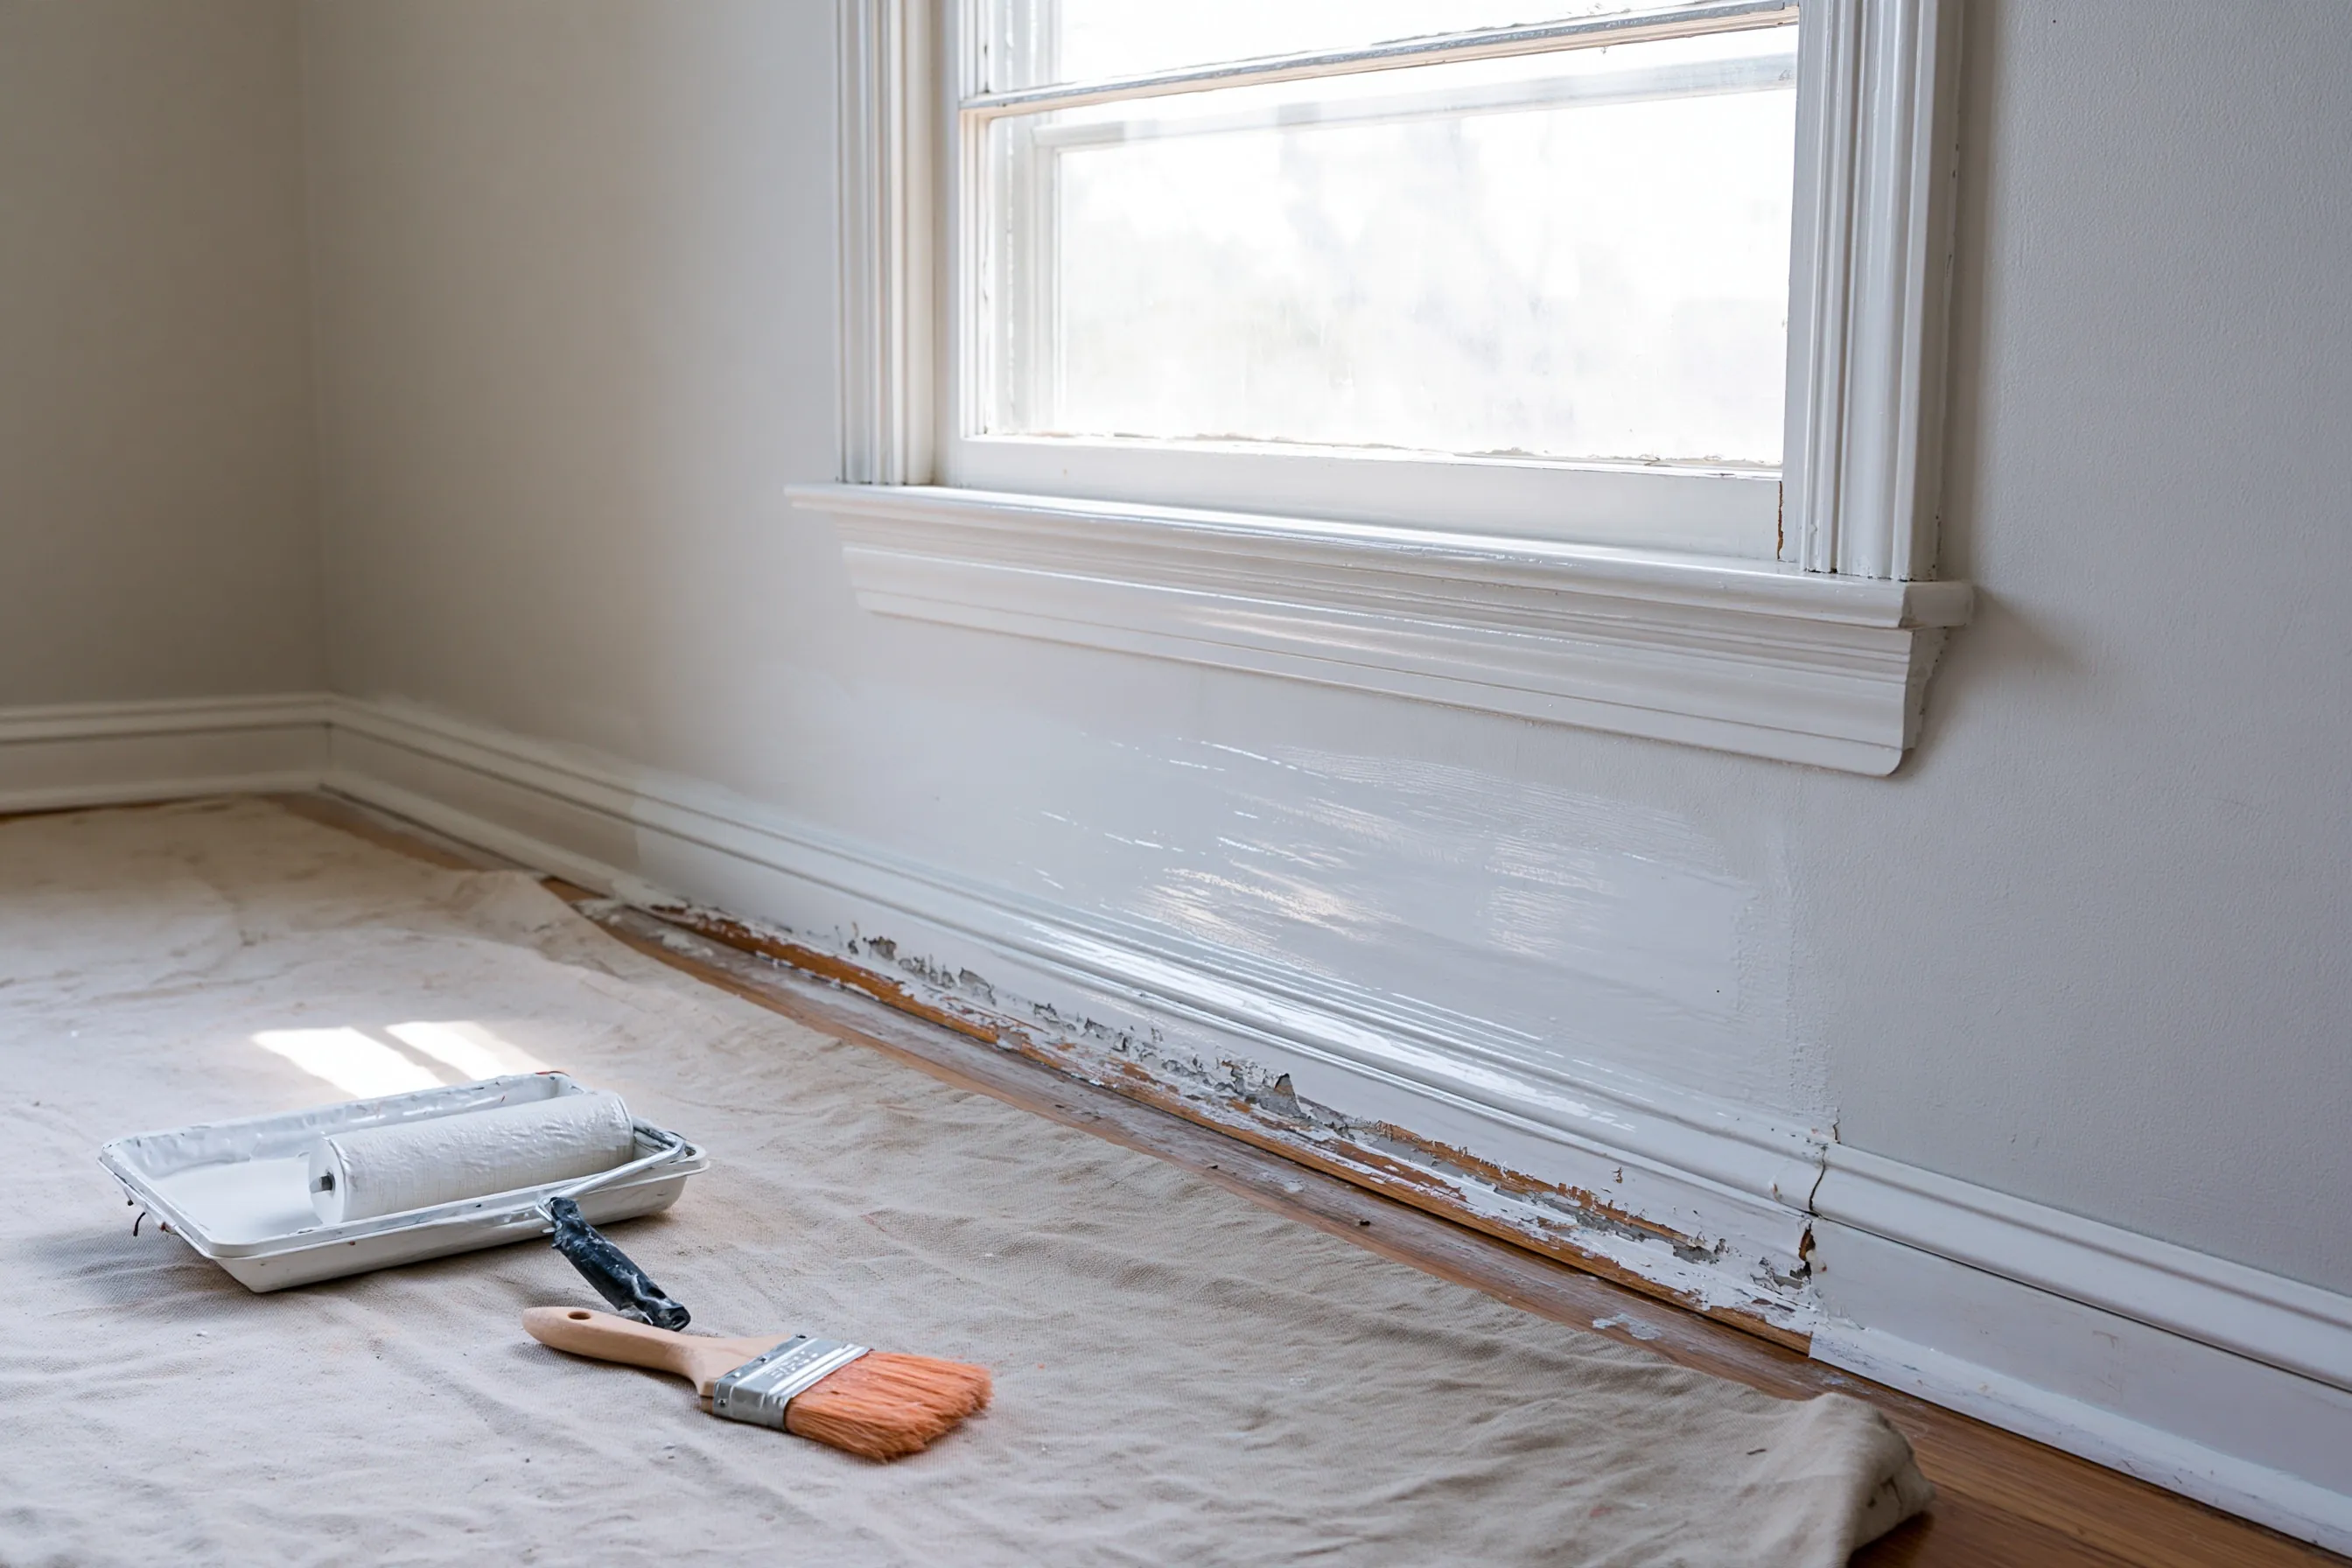
Baseboards and window trim sealed in a nursery

Example project

Bedroom baseboard half coated in glossy white sealant, the rest chipped, under a wide window with a roller and tray
Home
1960s ranch house in Garland
Original request
Make a bedroom ready for a new baby without stripping the trim
Testing
Lead paint on the baseboards, the window trim and the door casing; the walls test clear
Surfaces
About 160 sq ft of baseboard and trim that nothing rubs
Method
Loose edges misted and scraped, two coats of a coating made to seal lead paint
Estimated cost
$1,500

Scope of work

A drop cloth and plastic over the floor, loose and chipped edges misted and scraped by hand, the trim cleaned, a small patch tested for bonding, two coats of encapsulant on the baseboards, window trim and door casing, HEPA cleanup and a cleaning check. The window sash is not coated.

Project overview

In this example, the owners of a 1960s ranch house in Garland are turning a bedroom into a nursery. The baseboard paint has chipped in places, and a test shows lead paint on the baseboards, window trim and door casing, but not on the walls.

The trim is sound apart from the chipped spots, and nothing rubs against it, so it is sealed rather than stripped. The chipped edges are scraped first, because a coating is only as strong as the paint under it.

The goal

The goal is a nursery with sealed, sound trim and a clean floor, at a fraction of the cost of stripping.

Process

  1. Testing Trim and walls tested, and a small bonding patch tried on the baseboard.
  2. Prep Floor covered, loose edges misted and scraped, trim cleaned.
  3. Coating Two coats of encapsulant on the baseboards, window trim and door casing.
  4. Check HEPA cleanup and a cleaning check of the floor and sill.

Planning right

  • Seal only what nothing rubs. Window sashes and door edges wear through a coating.
  • Look over the sealed trim once a year for chips, and touch them up right away.
  • The lead paint stays under the coating, so keep a record for a future sale.
  • Finish the work and the cleaning check well before the baby arrives.

Get a free quoteMore about lead paint encapsulation

Request a free lead paint removal quote

Send the address and a rough build year, and tell us what you plan to remodel, replace or keep. We'll get back to you soon with an estimate or any questions we have. Estimates are free and there's no obligation.

Call (469) 429-0699

Call (469) 429-0699